

The Secure Frame: A Photographer’s Guide to Safety
In photography, security is the foundation of execution. A compromised shoot is a failure of planning or paying attention. Whether you are navigating an isolated trail in the Pacific Northwest, handling thousands of dollars of gear in a crowded European plaza, or managing a closed-set portrait session with a model, safety is not an afterthought; it is the prerequisite for giving creativity a chance. A lack of safety and security will degrade that or ruin your creative process completely. It may also end your photography career.
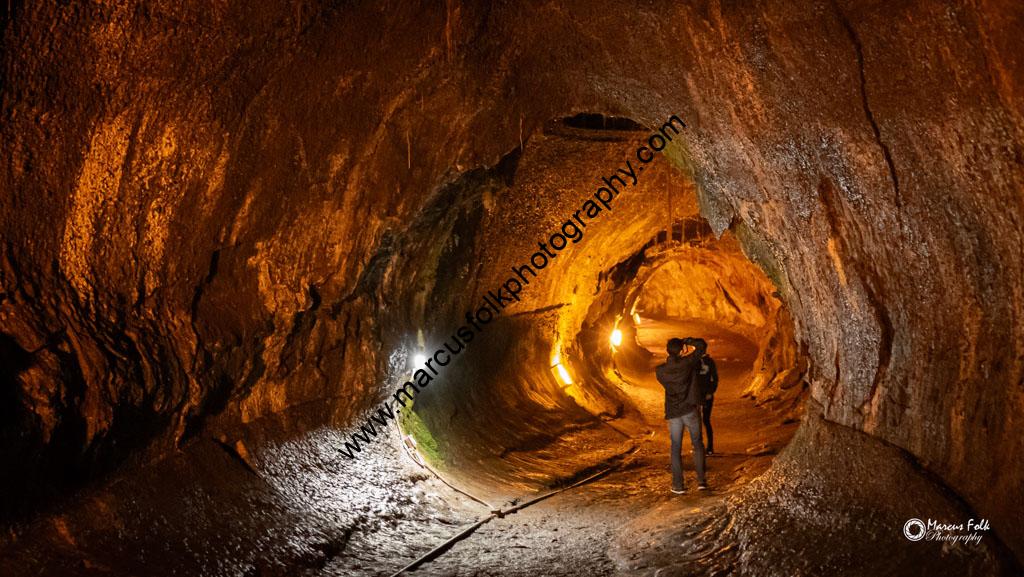
At any individual shoot location, you should get in the habit of researching specific safety tips and checks before heading out. I can never help you with any situation you may encounter but my hope for this blog article is that it gets you thinking or helps in most situations. Remember that when you are looking to capture that perfect photo, that it may require you to go down a difficult trail, but if you are prepared, it should mitigate the risks. Know that safety is never eliminating all hazards or risks but planning how to diminish them or reduce their affect on you. Let's discuss some ways to do that before they become overwhelming.
Public Safety Essentials:
Environmental & Location Awareness:
-
Rule 1: Before traveling, download or print a map of your route completely. If you are walking, note distances and time frames to traverse the terrain you will cross. Don't forget to consider elevation and obstacles. Also remember that your phone might loose signal in remote places so don't always rely on digital mapping functions. This also includes itineraries for flights or other travel information. I always have a printed or written version of my travel code / confirmation number to correct any limited connectivity issues while traveling.
-
Anti-Theft Devices: A photographer looking at a phone while carrying a visible gear bag is a prime target for opportunistic theft. Zippers in the back or unlock bags also give thieves opportunity. Dropping your obvious $10,000 camera and bag is another event waiting to happen. It is good to check everything (inventory) items before moving to the next location. I know many photographers that have lost lens caps because they didn't do that step. Lastly, paying attention to your surroundings, especially who is around you, and having positive control of the more high value items is important. You may want to have a record of serial numbers and identifying marks on your items if you need to file a report.
-
The Rule of Two: In crowded international hubs like Barcelona or Madrid, never use a single-shoulder camera strap or keep a hand on the camera body. Use a cross-body sling with locking carabiner, or keep your camera anchored to your pack. Also, it is best to travel with others (buddy system). One can watch the others things while they go to the bathroom or are away. If something does happen, they buddy can help or notify others. In a trail or hike, it is much easier to receive aid than to render it on yourself.
- Weather: In the military, we would call this a threat analysis. You should know the weather and how to mitigate risks for different types of weather. Sunny days have specific health risks versus a blizzard. Rain will have adverse effects on your equipment which will differ to a windy night. You should always check the weather before you head off to a photo shoot. Clothing, gear, water, and even extra socks can be the difference with a successful shoot versus a catastrophe.
Technical & Shooting Security:
-
The Redundant Backup: Gear can be replaced; data cannot. Backup your card as soon as possible. I usually download photos off my camera daily. Once downloaded, you should backup the raw photos in at least two or more locations. I have lost photos to drive failure so I recommend at least one backup location be setup as a RAID. Having a server that you can access from anywhere can also help you load pictures from photo locations to at least have them at home if something happens. I also recommend you have multiple memory devices and a quick way to access those memory storage devices on a computer to make downloading quick and painless. I have a USB device that handles multiple styles and cards just in case.
-
The Perimeter Check: When setting a tripod on a busy street or a rugged cliff edge, ensure the weighted center column is stable. One sudden gust or a distracted pedestrian can ruin a camera or lens instantly. Check your tripod leg tighteners to ensure once you post the legs don't retract and cause a fall. I once had a event with kids running around. I had to consistently hold my camera to prevent them from kicking or running into my tripod. Pay attention to your surroundings is always a top tip. Watch out for spongy or wet ground as well as your tripod can sink without prior warning. Also, don't set your camera down unless you are sure it will be there when you are ready for it or won't get destroyed while you are doing other things.
- Anchor or Wide-Spread: Some lighting or other camera equipment will come with anchors to prevent falling. Make sure you use them even on stable or flat ground. Extra safety is better than calamity. If they don't have an anchor, tripods should be opened to just over the center width the legs open. To test this, examine the tripod legs barely open and entirely open. Then move to the half way open, and open slightly more. This should give you the best stability with the least amount of space used to move around. Always test stability of the object and tightness of the butterfly nut used to adjust the legs before walking away. Lastly, watch wiring and other objects that when moved could cause the tripod to fall over.
Professional Collaboration (Photographer & Model):
-
The Pre-Production Call: Trust begins before the camera turns on. You should always discuss the creative direction, wardrobe requirements, and comfort boundaries explicitly with the model attending your shoot. I do run into some models that don't know or get offended with honest conversation but let that help you screen out risks. I say the same thing to models. You should know the basics of your shoot before you arrive. That is not to say there won't be creative ideas during shooting, but when everyone has understood boundaries, the creative ideas have a better chance of yielding fun over terror. Communication is a great safety tip.
-
The Comfort Principle: The photographer should never touch a model to adjust hair or clothing without explicit verbal permission. Always communicate what you want to adjust first: "May I adjust the collar of your jacket?" You will eventually work with models that you know and I still ask if I can adjust something. Most models want you to direct, and you can do that with words. For comfort, I would also have water, beverages, and maybe snacks to enjoy while shooting. Some shoots can go for hours. Having a heater or cooling fan available if temperatures go to either extreme can also provide comfort when needed. I always have a safe bathroom available, or know how to get to it quickly, and a safe changing area. Don't ever expect, or place your model in the position, to change in front of you, even if you know them well.
Top 3 Tips for Models:
-
Bring a Companion: For location shoots or initial sessions with a new photographer, you are always welcome to bring a trusted friend or "handler" to the set. Make sure that person understands the nature of the shoot. Make sure they understand they can watch but they are not their to get involved. Also, make sure they are not rude, unqualified (I actually had a companion arrive that was underage, very awkward), and respectful to the shoot location. You should establish a safe word or verbal queues with your companion so they know when they need to intervene or what to do in a situation.
-
Know the Vibe: Request a clear mood board or visual brief ahead of time so there are zero surprises regarding the style or expectations of the imagery. That doesn't mean you can engage in ideas during the shoot, but if you have provided your boundaries and limits, you give more freedom to work creativity in the shoot. Be honest with the photographer and don't be offended if they ask what your boundaries and limits are for the shoot. Always pick up on the environment and adjust as needed.
-
The Right to Veto: You have full veto power over any pose, wardrobe piece, or location that feels unsafe or physically uncomfortable. A professional photographer values your boundaries and comfort above the shot. I have shot near cliffs that we had to adjust because both of us were uncomfortable. We also had to adjust poses because some wouldn't work. Communication is key here as well since if a model says stop, or says they won't shoot something, it is easy for an honest photographer to pivot or work in those boundaries. If you did #2, you should also know what might lead to a veto or how you can pivot if something does become and issue.
This is a simple list that can get most photographers and models started. If you are a member to Marcus Folk Photography, you will get to read on below. I want to share with my members some more professional or advance safety tips. I am also providing a safety checklist you can use for your shoots so become a member today. These next tips are the foundation that every photographer and model must master before setting foot on location:
This article is available exclusively to active members. Please log in or join today to continue reading.
")